Easter Peeps Gluten-Free Cheesecake Recipe: No Bake
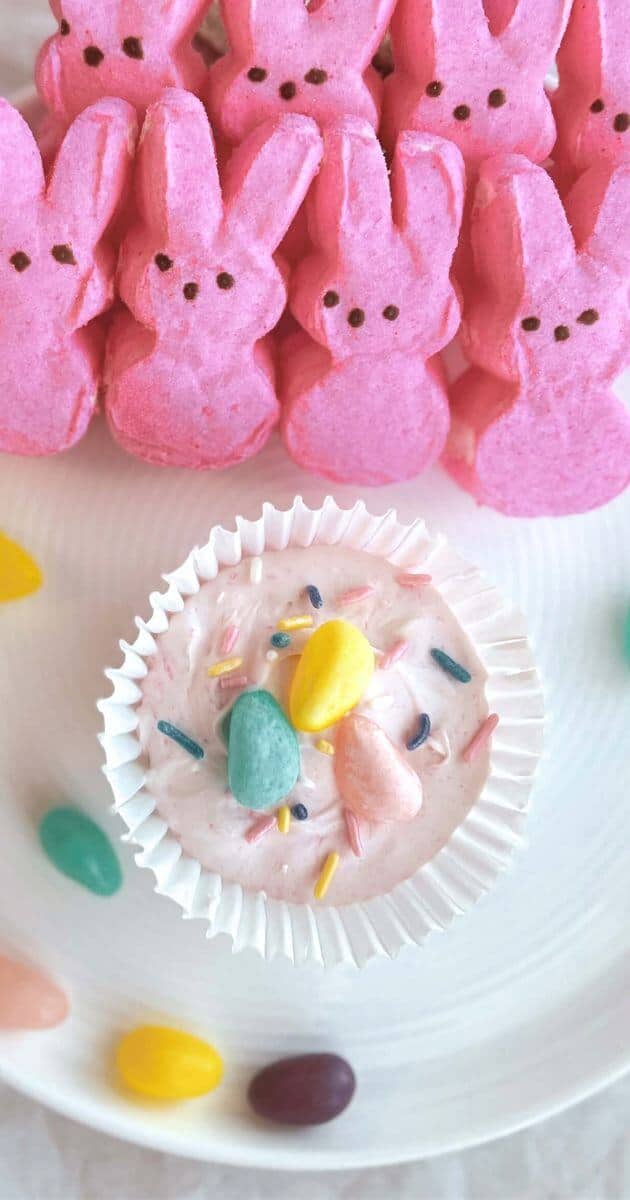
Celebrate Easter with a delicious Gluten-Free Peeps Cheesecake, a no-bake treat that’s easy to make and perfect for any springtime occasion. This recipe combines the sweet goodness of marshmallow Peeps with a creamy cheesecake filling, creating a festive and colorful dessert. Pair it with a free printable Easter Egg I Spy game for added fun!
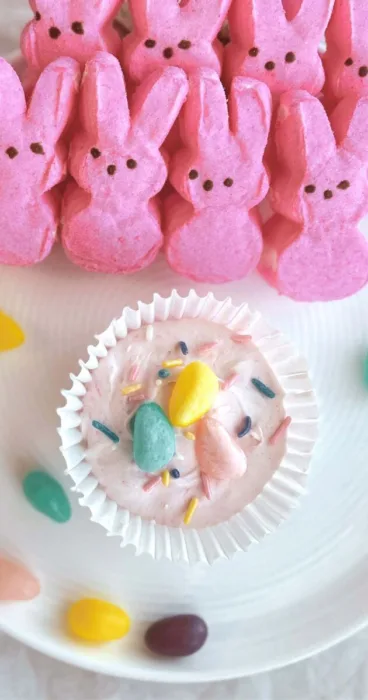
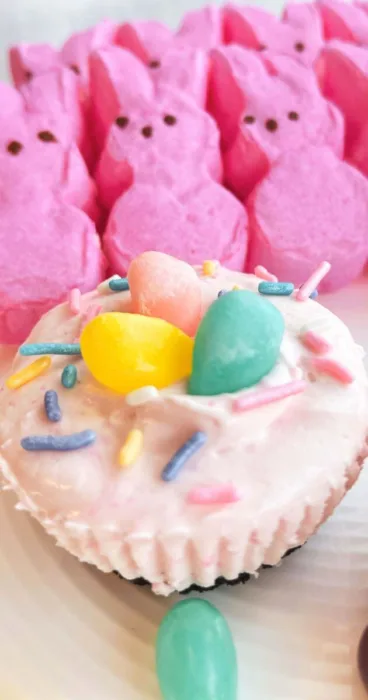
I love creating treats for every occasion, especially creamy marshmallow ones like these. These classic gluten-free no-bake cheesecakes are fun to make to take to your next Easter event or party!
Too busy to make this right away? Save it for later! Pin this post to your favorite board on Pinterest so it’s there when you need it!
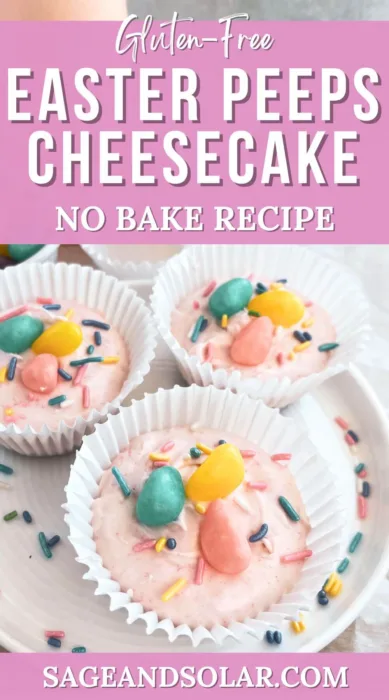
The no-bake approach for this cheesecake saves time and ensures a smooth, marshmallow texture with a subtle pink color that captures the essence of Easter! The no-bake filling is made of a simple mix of melted Pink Peeps, cream cheese, powdered sugar, vanilla, lemon juice, Oreo crème filling, and gluten-free Cool Whip. It’s a quick, easy, and delicious way to add a dessert to your Easter dinner celebration.
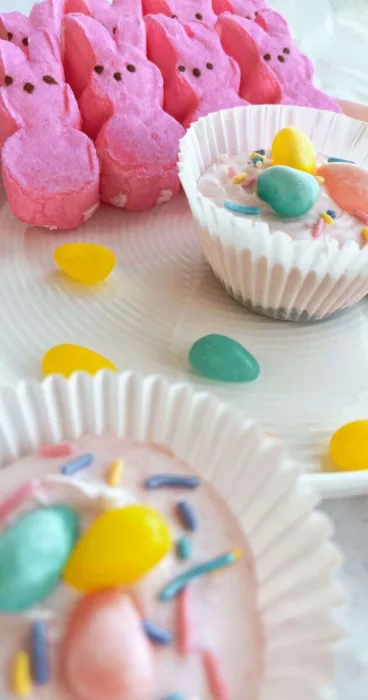
If you have dietary restrictions like celiac disease, don’t worry! This mini cheesecake is entirely gluten-free. The crust is made with gluten-free Oreo cookies and melted butter, while the marshmallow Peeps and Cool Whip in the filling are also gluten-free. It’s a safe and yummy treat for those with gluten sensitivities!
Gluten-Free Easter Peeps No-Bake Cheesecake Recipe
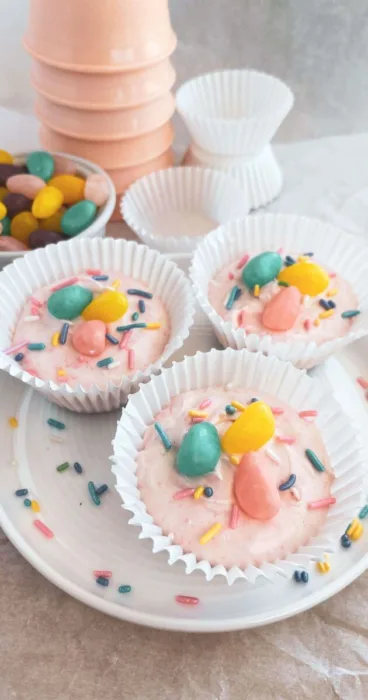
Supplies
- Muffin pans
- Cupcake liners – I like using standard white baking cupcake liners for these mini cheesecakes but you can use any color you have on hand.
- Mixing bowls – I use glass mixing bowls so I can see all my ingredients
- Hand beater or stand mixer
- Medium cookie scoop – this comes in handy when distributing the cream cheese filling.
- Rolling pin – for crushing the Oreo cookie crumbs
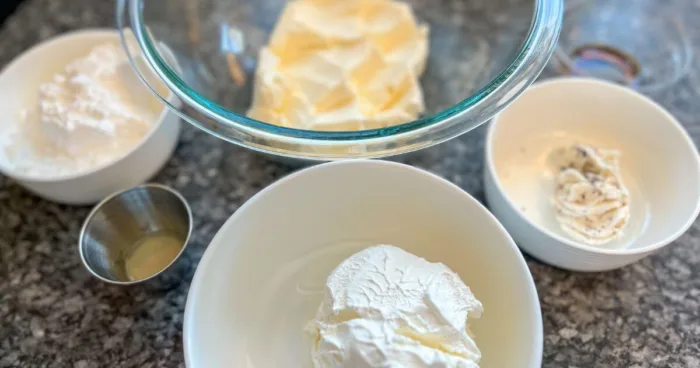
Ingredients for 12 no-bake mini cheesecakes
To whip up these easy Peeps cheesecake bites, you’ll need the following ingredients:
- Gluten-free Oreo cookies or one an alternative
- Melted butter or plant-based butter for the crust and some for melting the Peeps
- Package of 8 Pink Peeps for the gooey marshmallow goodness
- Cream cheese for the rich creamy texture
- Vanilla
- Powdered sugar to sweeten the filling
- Lemon juice to brighten the flavor
- Gluten-free Cool Whip or other whipped topping
- Creme filling from the Oreos
- Pastel-colored candy and sprinkles for topping (gluten-free)
How to make gluten-free Peeps marshmallow cheesecake
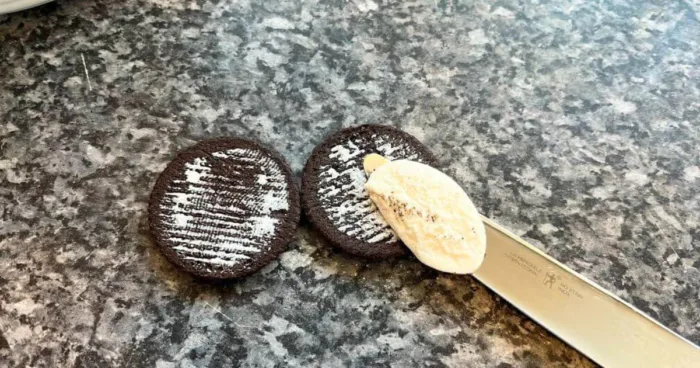
- Remove the creme center from the gluten-free Oreo cookies and set aside. You will need the creme center for the cheesecake filling.
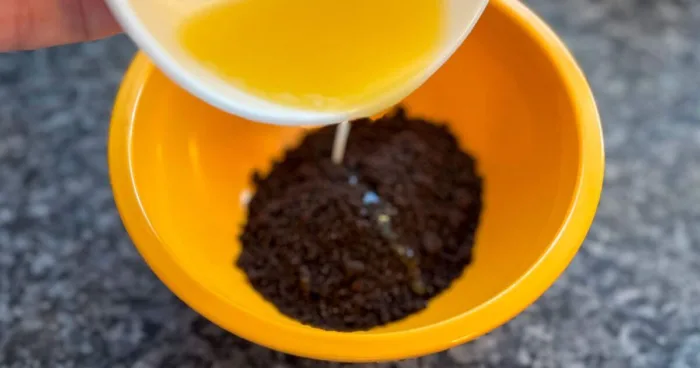
- Crush the cookie wafers and combine them with 3 tbsp melted butter for the crust. Press it into 12 cupcake liners and refrigerate while you prepare the filling.
- In a mixing bowl, beat together cream cheese, powdered sugar, lemon juice, Oreo creme filling, and vanilla until smooth and well combined. Then fold in Cool Whip.
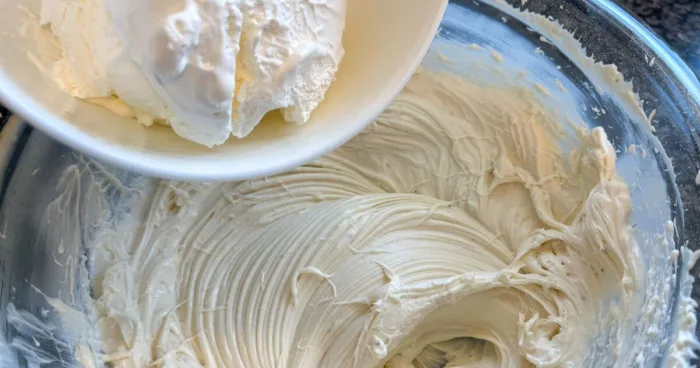
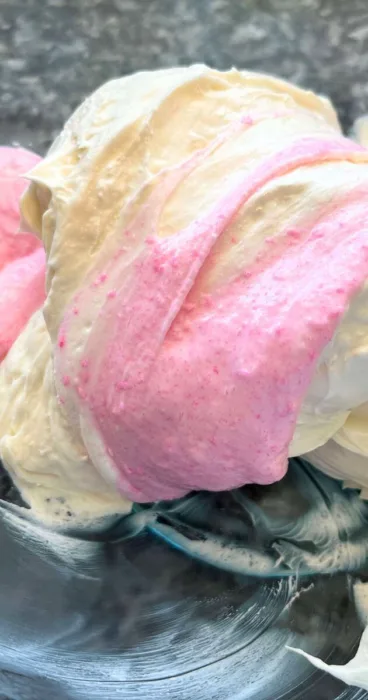
- Melt the Pink Peeps with 1 tbsp of butter in the microwave for 20-second intervals, stirring each time. When they are combined, quickly fold them into the cheesecake filling.
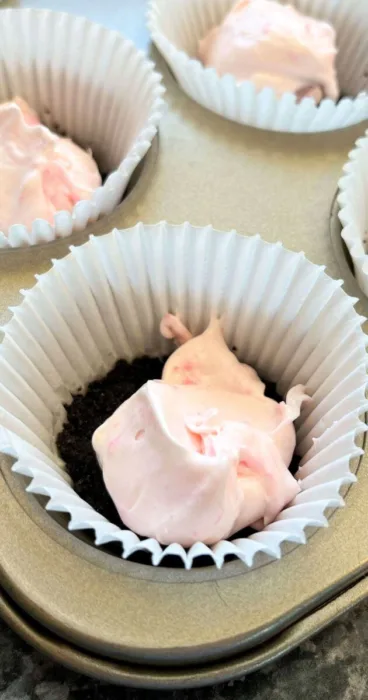
- Spoon the filling onto the chilled crusts and smooth the tops.
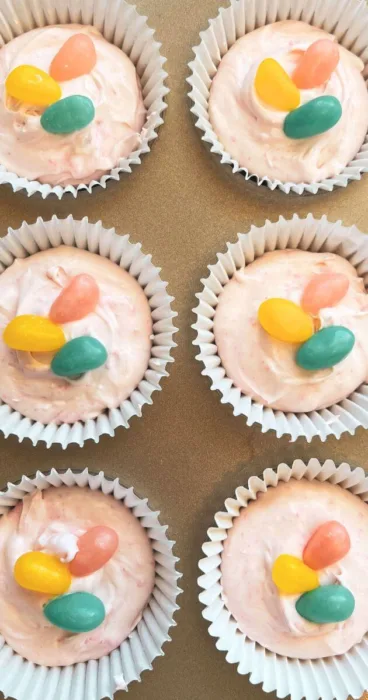
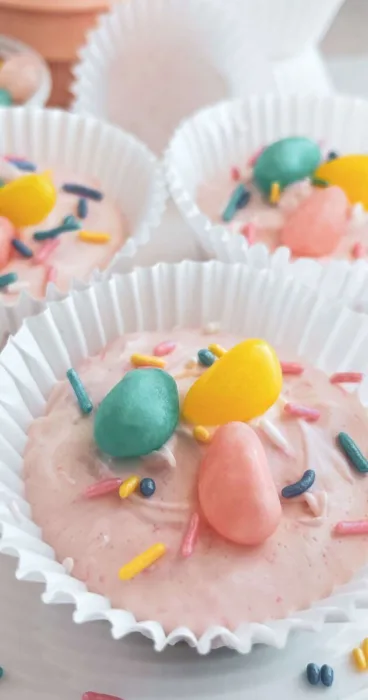
- Garnish with pastel-colored Easter candy.
- Freeze for a few hours or overnight.
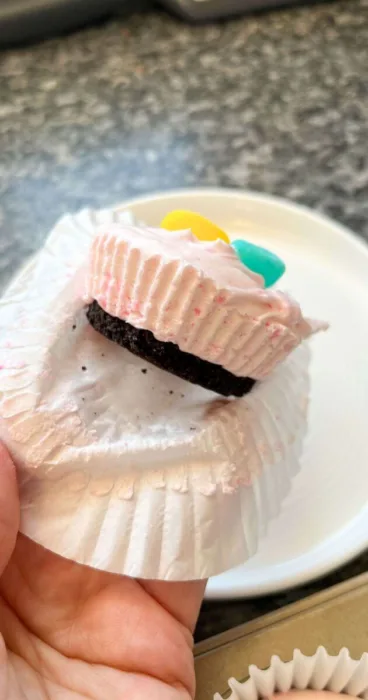
- Remove from the freezer 10 minutes before serving.
Use my easy Microwaving Peeps Recipe to make the marshmallow cream for the best gluten-free cheesecake recipe no bake! You will need the pink bunny Peeps and butter.
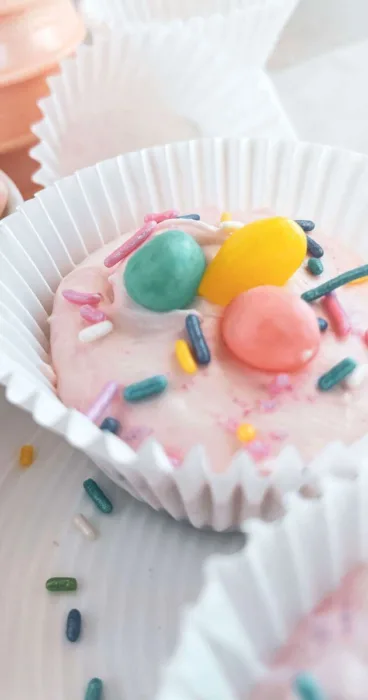
I like to make the cheesecake filling smooth and avoid lumps by warming the cream cheese to room temperature before beating it. Also, while it’s possible to beat the cream cheese mixture by hand, I recommend using a hand beater or stand mixer for best results.
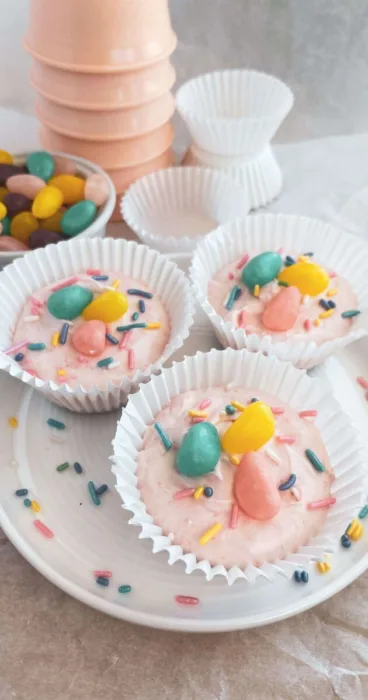
Tips & Tricks
- Let the Cool Whip sit at room temperature for 10 minutes before folding it into the cream cheese mixture.
- Melt the Peeps in the microwave immediately before folding them into the cream cheese mixture. It works better if they are slightly warm.
- If the Peeps marshmallow mixture gets too stiff, microwave it for 20 seconds to soften again.
- If your cheesecake crust crumbs are not sticking together, put the paper liners with the crumb mixtures on a plate. Microwave for 20-30 seconds and press again.
- Prevent sticking by using paper cupcake liners in the muffin tin. This also makes it easier to get the no-bake cheesecakes out for serving.
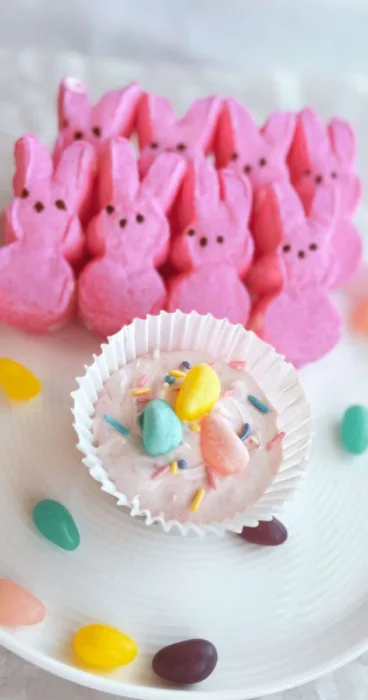
Freezing the no-bake mini cheesecakes will make them firm up. Storing them in the freezer will keep them fresh and prevent spoilage.
Alternate Ingredients
- Try substituting different gluten-free chocolate sandwich cookies.
- Make this a gluten free dairy free cheesecake recipe by using gluten-free vegan cream cheese and plant-based butter
- Why not customize the color by adding some pink food coloring to the cheesecake filling?
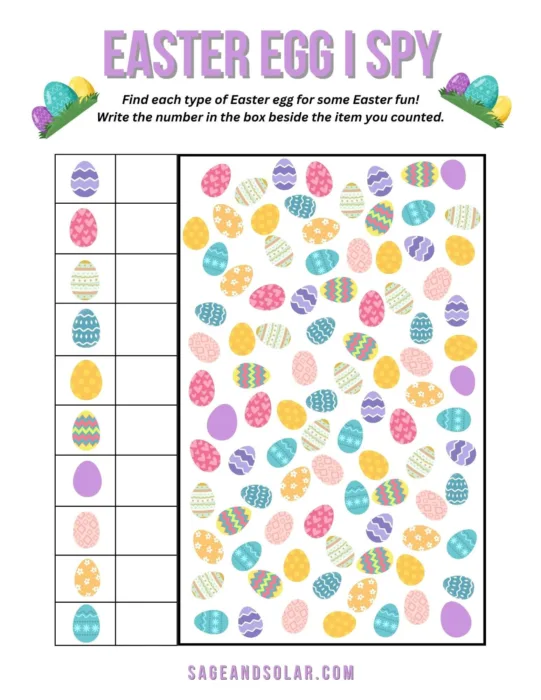
Enter your name and email below to get an instant download of the file. You are then registered for my weekly newsletter full of gluten-free recipes and creative ideas!
File usage:
- All digital files on Sage and Solar are for personal use only.
- Please direct others to the original website link when sharing.
- Digital reselling, resharing, or distribution is prohibited.
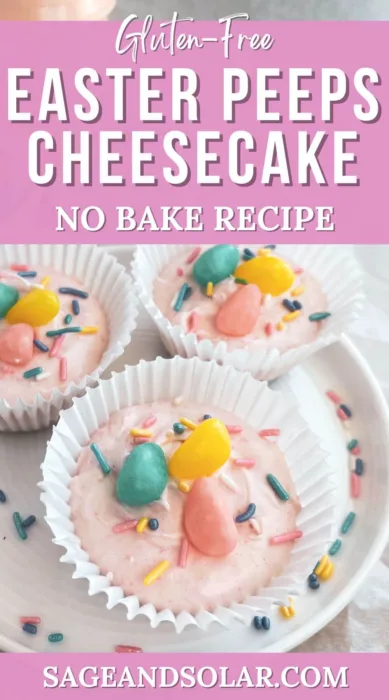
This Easter Peeps cheesecake recipe no-bake is not just a tasty treat, it’s a whimsical addition to your spring-time celebration. Start a new Easter tradition by decorating them with the kids! Use gluten-free Easter eggs, peeps, and a sprinkle of pastel candy for a delicious Easter treat.
More Gluten-Free Cheesecake Recipes No-Bake:
If you love this gluten-free Easter Peeps No Bake Cheesecake Recipe, please give it a five-star review and help me share it on Facebook or Pinterest so that others can enjoy it too!
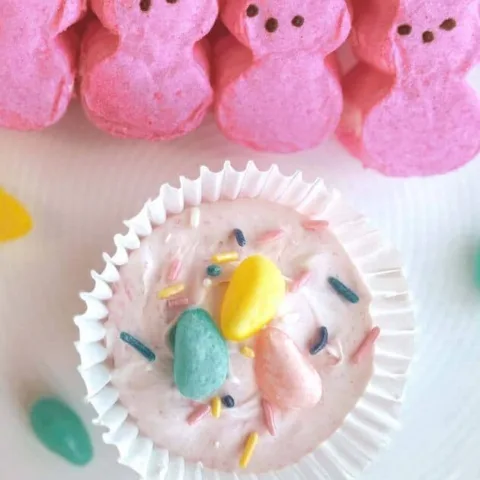
No-Bake Easter Peeps Mini Cheesecakes (Gluten-Free)
Indulge in the joy of Easter with these delightful No-Bake Easter Peeps Mini Cheesecakes—gluten-free and bursting with festive flavors!
Ingredients
Crust
- 10 Oreo cookies (gluten-free), separated
- 3 tbsp. butter
Filling
- 8 Peeps marshmallow bunnies (gluten-free)
- 1 tbsp. butter (for microwaving Peeps)
- 8 oz. (250 g) cream cheese
- 3/4 tsp vanilla
- 3/4 cup powdered sugar
- 3/4 tsp lemon juice
- 1 cup Cool Whip (gluten-free)
Topping
- Gluten-free sprinkles and candy
Instructions
- Remove the creme center from the gluten-free Oreo cookies and set aside. You will need the creme center for the cheesecake filling.
- Crush the cookie wafers and combine them with 3 tbsp melted butter for the crust. Press it into 12 cupcake liners and refrigerate while you prepare the filling.
- In a mixing bowl, beat together cream cheese, powdered sugar, lemon juice, Oreo creme filling, and vanilla until smooth and well combined. Then fold in Cool Whip.
- Melt the Pink Peeps with 1 tbsp of butter in the microwave for 20-second intervals, stirring each time. When combined, quickly fold them into the cheesecake filling.
- Spoon the filling onto the chilled crusts and smooth the tops.
- Garnish with candy and sprinkles.
- Freeze for a few hours or overnight for best results.
- Remove from the freezer 10 minutes before serving.
Notes
- Need to replace the gluten-free Oreos? Here is a list of gluten-free alternatives.
- Let the Cool Whip sit at room temperature for 10 minutes before folding it into the cream cheese mixture.
- Melt the Peeps in the microwave right before folding them into the cream cheese mixture. It works better if they are slightly warm.
- If the Peeps marshmallow mixture gets too stiff, microwave it for 20 seconds to soften again.
- If your cheesecake crust crumbs are not sticking together, put the paper liners with the crumb mixtures on a plate. Microwave for 20-30 seconds and press again.
- Prevent sticking by using paper cupcake liners in the muffin tin. This also makes it easier to get the no-bake cheesecakes out for serving.
Nutrition Information:
Yield: 12 Serving Size: 1Amount Per Serving: Calories: 227Total Fat: 14gSaturated Fat: 8gTrans Fat: 0gUnsaturated Fat: 5gCholesterol: 29mgSodium: 198mgCarbohydrates: 22gFiber: 0gSugar: 16gProtein: 5g
All values are approximate and based on ingredients used by the recipe writer. Always calculate your own individual nutritional values for the most accurate calculation.
